Get Started in Minutes
Watch our tutorial videos below for step by step instructions.
You’ll be creating reports in no time!
Instructional Videos
Set up your account on the web platform.
Once set up, enjoy on all devices.
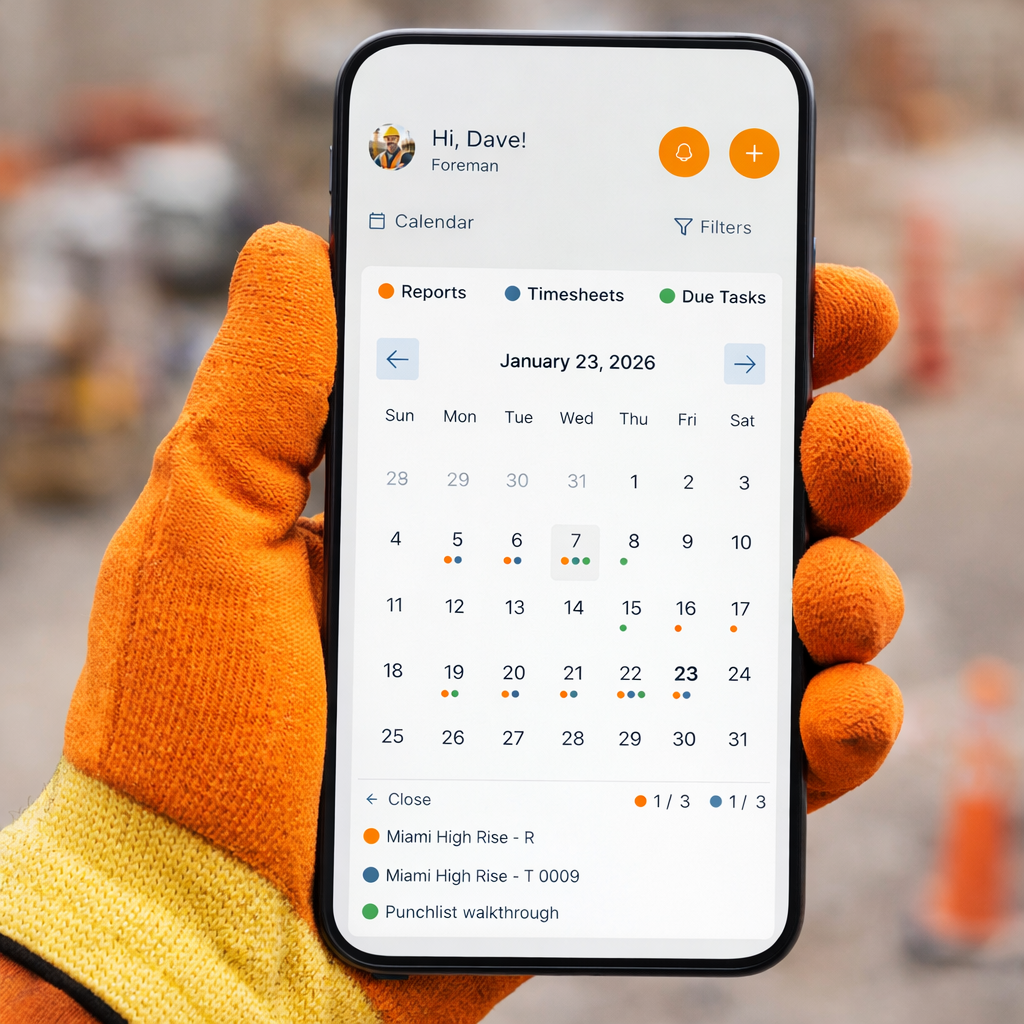
Get Started with DailyBuild
2:09
1:43
3:58
How to Sign Up for Daily Build
Step 1: Choose Your Sign-Up Method 0:00
- You have two options to sign up for Daily Build:
- Option 1: Continue with Google to connect directly to your Gmail account.
- Option 2: Create a manual account.
Step 2: Create a Manual Account 0:14
To create a manual account, follow these steps:
- Enter your name and company.
- Enter your company email and password.
Step 3: Agree to Terms of Service 0:40
- You must agree to the Terms of Service before signing up.
Step 4: Complete Sign-Up 1:06
- Click the sign-up button to register.
- You will be automatically signed up for a 14-day free trial.
Step 5: Initial Setup Steps 1:20
After signing up, you can choose to complete the following setup steps now or skip them:
- Set your company theme color.
- Upload a picture of your company.
- Enter your company phone number.
- Enter your company location.
- Provide a short description of your company.
Step 6: Confirmation of Free Trial 2:11
- After completing the setup steps, you will be redirected to a confirmation page.
- This page will show you that you are on a 14-day free trial and the date your trial ends.
Step 7: Start Using Daily Build 2:21
- You have successfully completed the sign-up process.
- You are now ready to start creating your first report and timesheets.
Adding Team Members in Your Account
Step 1: Access the Team Section 0:00
- Go to your dashboard.
- Click on the ‘Team’ option to start adding team members.
Step 2: Identify Team Members 0:12
- Determine which team members to add:
- Project Manager
- Foreman
- Any additional workers you want to include.
Step 3: Add a Project Manager Profile 0:20
- Click on the button at the top to add a new profile.
- Enter the Project Manager’s email address.
- Click ‘Save’ to send them an email confirmation for app sign-up.
Step 4: Select Position and Enter Details 0:52
- Choose ‘Project Manager’ as the position.
- Optionally, enter their phone number.
Step 5: Add a Foreman Profile 1:04
- Repeat the process to add a Foreman:
- Enter the Foreman’s email address.
- Select ‘Foreman’ as the position.
- Optionally, enter their phone number.
Step 6: Confirm Successful Creation 1:37
- Review the profiles created:
- Project Manager
- Foreman
- You have successfully added both profiles.
Guide to Adding Work Categories, Subcontractors, and Equipment
- Introduction to Adding Work Categories 0:00
- Overview of the process to add work categories, subcontractors, and equipment.
- Importance of work categories for feeding information into timesheets and daily reports.
- Viewing Pre-filled Work Categories 0:19
- Dashboard displays three example work categories with corresponding cost codes.
- Users can manually enter their own work categories.
- Adding a New Work Category 0:34
- Input the category name (e.g., ‘Concrete Labor’).
- Enter the corresponding cost code.
- Saving Work Category Information 0:48
- Click ‘Save’ to add the new work category and cost code to the dashboard.
- Uploading Cost Codes via CSV 1:03
- If your company has a list of cost codes, you can upload them using a CSV file.
- CSV file requirements:
- Two columns: ‘name’ and ‘cost code’.
- Example format: descriptions in the first column, cost codes in the second.
- Uploading the CSV File 1:27
- Click ‘Upload CSV’ and select your file to import the cost codes.
- Adding Equipment to the Dashboard 1:44
- Dashboard has two preloaded equipment entries.
- To add new equipment, provide:
- Equipment ID (your choice of number).
- Equipment name.
- Equipment type.
- Quantity available.
- Serial number or identifying number.
- Saving Equipment Information 2:47
- Click ‘Save’ to add the new equipment to your list.
- Adding a Subcontractor 3:04
- Dashboard includes a sample subcontractor entry.
- To add a new subcontractor, provide:
- Profile picture (optional).
- Name.
- Contact person.
- Trait.
- Saving Subcontractor Information 3:50
- Click ‘Save’ to automatically populate the subcontractor in your dashboard.